So you want to shoot Super 8 wedding films?
If you’re a photographer or videographer looking to add Super 8 into your business, then you came to the right place. In this ultimate guide blog post, you’ll learn all of the basics you’ll need to know about Super 8 cameras, films, post-processing, and more.
Extra resources and quick links:
Where to buy Kodak Super 8 Film
Super 8 Contracts (Use code MYLA10 for $ off)
What is Super 8
Super 8 film is a motion picture format introduced by Eastman Kodak in 1965, utilized primarily in small, handheld cameras known as Super 8 cameras. It consists of 8mm-wide film wound on plastic reels with sprocket holes, allowing for easy loading and advancement. Popular among amateur filmmakers and home movie enthusiasts for its simplicity and affordability, Super 8 film captures memories with a distinct grainy texture and vibrant colors, evoking a nostalgic aesthetic reminiscent of classic home movies. Despite the prevalence of digital video, Super 8 film persists as a medium cherished by filmmakers and artists for its unique visual qualities and the tactile experience it offers.
Why shoot Super 8?
For the same reason film photography has grown in popularity over the years, film in general has a look that still can’t be exactly replicated with digital. The grain, colors, highlights, etc are so unique to the format that a lot of people have been craving the authentic style of filming.
I personally shoot Super 8 films because it gives my couples another option to consider if they don’t want an overproduced-looking film, yet still want their wedding day captured on video. Since I also incorporate film photography into my wedding packages, many of my couples already love the vintage aesthetic, and adding Super 8 on is seamless and a no-brainer.
What you need to know about shooting Super 8
The biggest things you need to know about shooting Super 8:
- It can be expensive. The main thing is the cost, a roll of Super 8 film typically costs around $50, shipping around $5-10, and post-processing (at the lab I go to) around $40-50.
- The footage doesn’t have sound (the camera itself can be noisy)
- Each roll shoots about 3 minutes of footage. This depends on what frames per second setting you have your camera on (18fps is typical)
- Most cameras are manual focus. Big tip, zoom in on what you want in focus, then zoom out)
- Some things can absolutely go wrong while shooting. I like to look for Super 8 cameras that have a notch in the viewfinder that you can physically see if the film is being pulled through, like the Canon 310 XL, otherwise, it’s hard to tell if you’re film is rolling or if it’s stuck.
How to get started with Super 8
Buying a Super 8 camera
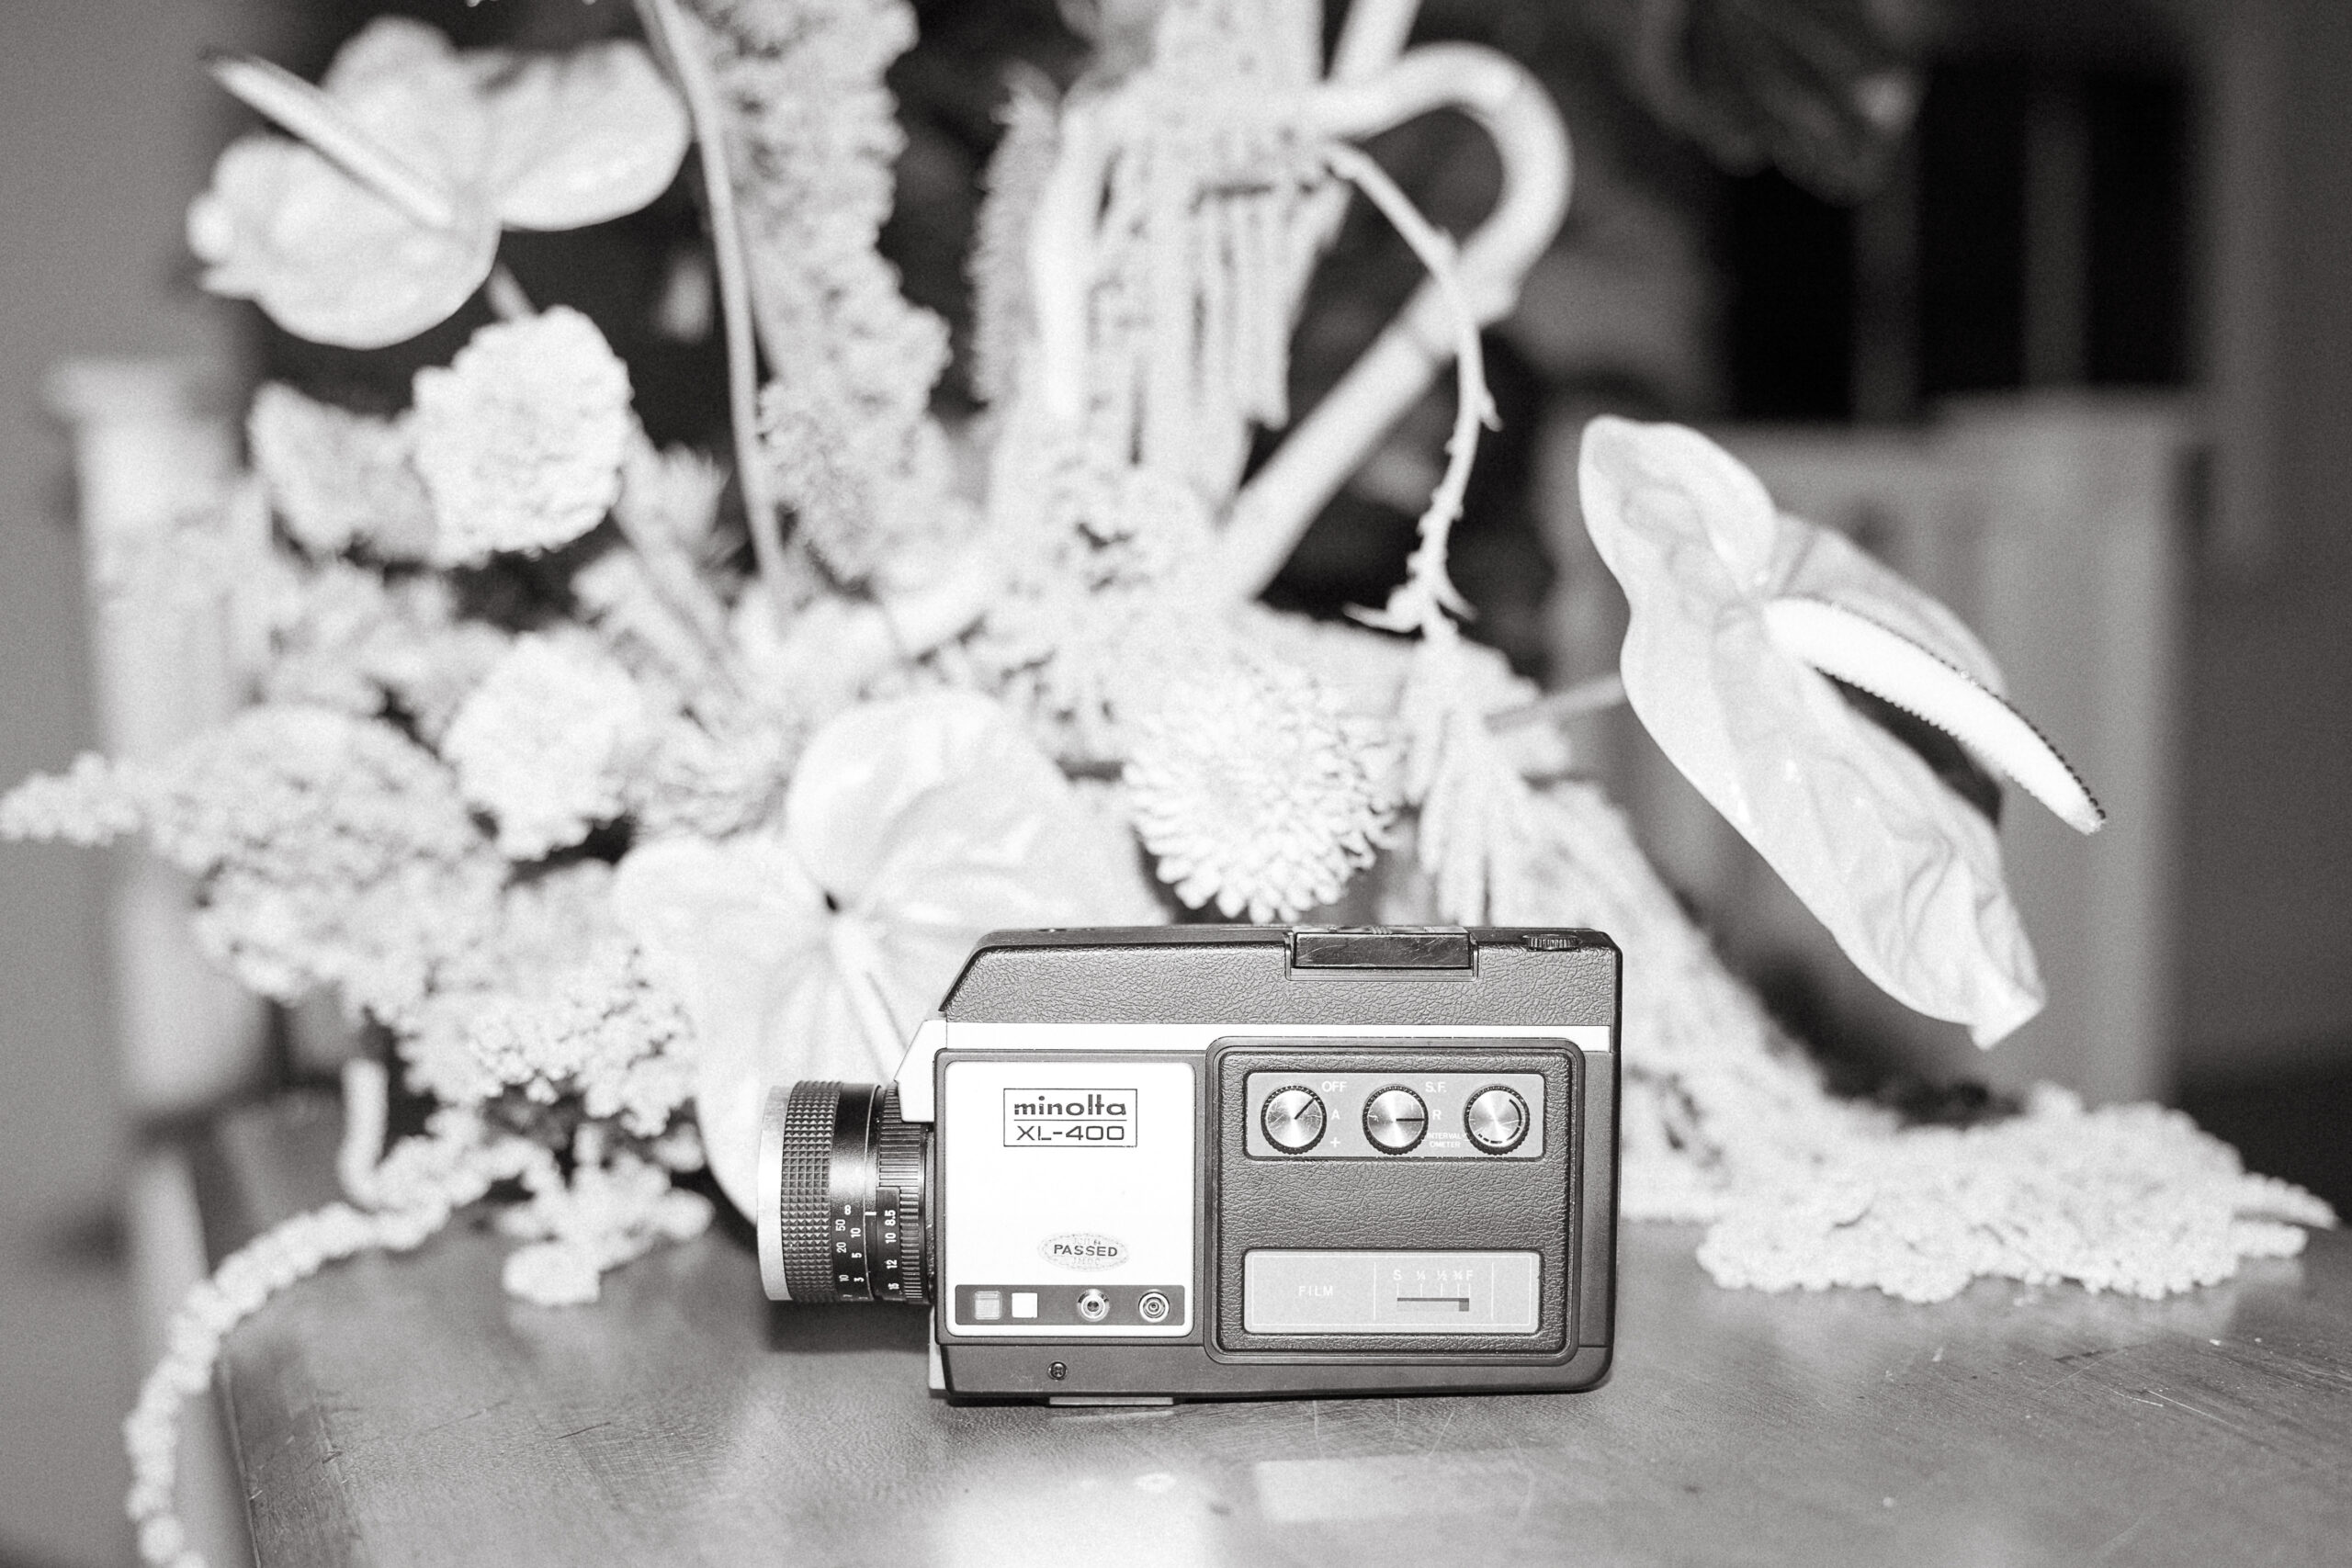
Research cameras to find the right fit for your budget and needs. I started with a $99 Minolta XL400 that I found at a local camera store just to see if I even liked it. I would recommend doing the same and starting off with a budget-friendly option to see if you even like it or ask family members if they might have one stashed away.
After you decide you like it and want a more reliable camera the two main places I recommend buying are:
- Monsterflipusa
- Pro 8mm
Then look at Etsy, eBay, or checking your local camera store.
Whatever camera you do get, look up the instruction manual online for it and READ THROUGH IT
Things to look for if you find a camera not from a reliable seller/ not film tested (garage sale, facebook marketplace, goodwill, etc)
- Check the battery compartment first! That’s typically what causes the most issues if there are things like corrosion. If you know you’re going to thrift stores looking for one, bring some AA batteries with you, that’s typically what most cameras take and you can pop them in and see if the motor works
- Check the viewfinder for haze
- If everything looks good and you want to see if it works with film, try marking the film with a little X and then pop it in the camera and pull the trigger for a couple of seconds. Take the cartridge out and check the film to see if the X is gone and if your camera works. It wastes a bit of film but is worth testing out
Here are the cameras I have:
- Minolta xl-400 – Camera store
- Canon 310xl – Pro 8mm (my favorite)
- Canon 814 autozoom – Monsterflipusa (my least favorite because I can’t tell if the film is being pulled through so it’s not as reliable as the others)
A lot of people own the Canon 514xl but I have heard it has had a lot of issues so would recommend steering clear of that one.
Here’s a mini crash course on my favorite camera, the Canon 310XL:
I got my Canon 310XL from Pro 8mm which is why their logo is over it but it’s still a refurbished 310xl. This camera takes 2x AA batteries, works great for low-light situations, and overall is super light and easy to use.
I typically just flip the camera to “on”, focus on my subject and zoom out, or if I’m far enough away just set it to infinity. And you’re ready to pull the trigger!

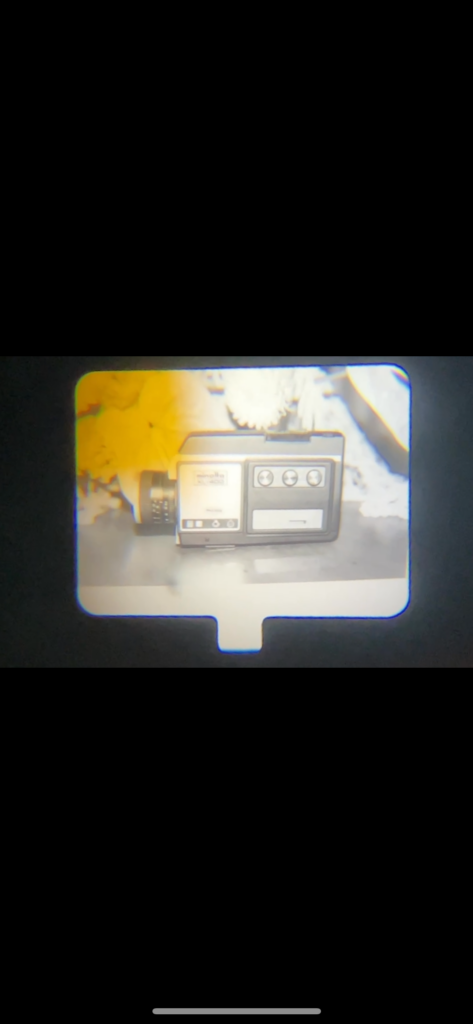
This is the viewfinder of the Canon 310xl and as you can see at the bottom of the window there’s a little notch with extra space. This is for when you put Super 8 film in and pull the trigger, you should see the film almost “bob” up and down in this window. When you see that, you see the sprockets on the film as it’s being pulled through. This is PERFECT because it shows you that your film is being pulled through, or not, and you can tell when you’ve finished a roll because the notch will be empty.
The red film pops up when you’re underexposing your film. You can still push 500T quite a bit in darker-lit environments, but if you need to, I recommend getting a video light to light your subjects.
On the picture above, the yellow film means that you’re in Macro mode. This means anything that’s within 21.5 cm (about the length of the wrist strap) will be in focus. I use it to get close-up ring shots like this:
Purchasing film – Film types
I buy all of my film from my local camera store or B&H Photo. You can also buy from Amazon or Pro 8mm.
There are several different types of film and ways that they are broken down but here’s a little crash course. You’re going to want Kodak Vision 3 color negative film.
There are several main types:
- 50D – Best for outside in the bright direct sun
- 250D – Best for sunset backlit moments (only from pro 8 mm)
- 200T – Best for cloudy and indoor environments
- 500T – Best for darker or indoor environments(Honestly my favorite for all lighting situations though)
The number is for the ISO, and T stands for tungsten meaning great for indoors, and D meaning daylight perfect for outdoors.
You can still use the film for both indoor and outdoor situations, but you’ll just want an orange filter if you’re shooting tungsten outdoors (some cameras come with a built-in filter), or fix the warmth/white balance in post.
My film tips:
- Before loading your film, hit the cartridge a couple of times on the palm of your hand or something to loosen up the film on the inside
- Film can get wound too tight and not grab hold properly when your camera is running, this happens especially for 200T film so I have never used it for this reason. I have heard lots of people have issues with it
- 500T is THE BEST. This is my personal preference but I pretty much use 500T for everything, inside, outside, all around. It’s great because it can handle a lot of different lighting situations and that way you don’t have to switch film stocks between changes in setting
How to shoot Super 8
A Super 8 film cartridge typically allows for 3 minutes of footage at 18 frames per second, less with higher frame rates.
Before loading your film, hit the cartridge a couple of times on the palm of your hand or something to loosen up the film on the inside
Take on average 4-6 second long clips so it gives you enough footage to work with in editing but not so long that you’re wasting precious seconds!
To tell when the film is done:
- If your camera has a notch like I mentioned above for the Canon 310xl, you should be able to visually see when it’s done
- Most cameras have a way of tracking by feet on the side, how much film you’ve used up. Once it hits 50 ft you’re close to being done
- Your camera will start making a different sound when it’s finished
- Take out your film and check if the bottom says “exposed”
Troubleshooting tips:
- If your camera lens seems super blurry, check if you’re in the MACRO mode
- Get film unstuck if it’s jammed
Processing & Developing
I recommend sending your film using USPS Ground Advantage to guarantee it doesn’t go on a plane and get scanned!
Here’s Kodak’s directory for finding motion picture film labs: HERE
Otherwise, the two main places I hear people go most often are The Negative Space and Pro 8mm
I use The Negative Space because they are cheaper than Pro 8mm and I heard about them first through some of my favorite YouTuber’s. The Negative Space is super helpful and quick to respond when I have questions via email. They don’t process your film at The Negative Space, they’re working on getting that set up, but in the meantime, they send it to another lab and they do the scanning.
I personally, just send my film straight to the Negative Space, and they handle the rest. My order form is below:
Resolution varies, if I want higher quality I’ll pick 4k, but then the file sizes are huge. When I first started out, I chose “Timed Color Correction” which means they will color correct your footage for an extra $10 per roll. Which is pretty cheap especially if you don’t want to do it yourself. Otherwise, I also choose log sometimes when I want to color grad it myself, which I recommend so you have more control and create your own color-grading style with your Super 8 films.


The Negative Space sends me a digital .mov file of my scanned Super 8 film through WeTransfer about 2 weeks after they received it in the mail.
Editing
I am by no means an editing expert but I’m here to share my editing workflow with anyone that is a total beginner to video like I was. I researched a little bit about editing software but not a ton when I realized Davinci Resolve was free. It’s fantastic actually and I hear a lot of videographers and filmmakers are making the switch because it’s so good.
Anything that I need typically do in the “Cut” tab. Super simple.
I slice my Super 8 video into little clips since it’s one long video file essentially and break it down into scenes.
Once I do that I move the clips around into the general order I want them.
From there, I use Musicbed, Epidemic Sound, or Artlist.IO to look for music and license it. I typically just buy songs individually instead of using the subscriptions because I am not using the music platforms enough to justify a subscription. I mostly use Musicbed.
I use Canva to make all the titles for my films and export the Canva picture as a PNG with a transparent background.
As far as color grading, you definitely want to change your footage from log and the best way to do that is to play around with the exposure first, then white balance, then colors.
Once I’m done, I upload it to YouTube and embed it into my website. I send it to my iPhone using airdrop or WeTransfer.
On my iPhone, I use CapCut to splice the film and make reels. I extract sounds I like from TikTok and drop them into CapCut.
How to add Super 8 into your wedding workflow
Know that when you start off with Super 8, it’s going to be an investment. To start out shoot a lot of Super 8 for free so that you can learn as you go and get any quirks and kinks out of the way when you’re not being paid. Bring Super 8 along to all of your shoots and weddings you already have booked.
Below I go into how to advertise for it and you should start advertising for it right away. Let people know it’s one of your services now. Start charging it as an add-on for at least the cost of film and increase rates from there.
When you shoot film, you want to have a contract because there is a lot that can go wrong that’s just no one’s fault and you want to cover yourself. This is the contract I use: The Legal Piage
On that note, as a backup, I charge more so that I can have multiple Super 8 cameras with me at a wedding and shoot on both as a backup. Other ways I have seen people do it, obviously if you’re already a videographer, is by bringing a digital camera and then editing with a Super 8 overlay.
How to advertise for Super 8 films
Instagram & TikTok
- Put “Super 8” in your Instagram bio to help people find you
- In general, I recommend photographers and videographers pin 3 posts to the top of their feed, a Super 8 reel should be one of them
- Put a mix of Super 8 keywords in your hashtags and alt text
- Make a Super 8 story highlight for Instagram
- Create lots of Super 8 reels and tik toks
- iPhone vs vintage 60s film
- Photos vs Super 8
- Why you should hire a Super 8 Videographer
- etc
- Try running a Super 8 ad on Instagram and see how it goes (4-5 day ad and never on Fridays)
Website
- Create a separate page on your website for Super 8
- This way you can have a specific page that targets the keyword. Have your Header “Super 8 *Insert City* Videographer”
- Put “Super 8” in as much text on your Super 8 web page as you can while still sounding natural
- Include “Super 8” in all of the alt text for any images on that web page
- Make blog posts with Super 8
- What is Super 8
- Gallery of whatever + Super 8
- How to shoot on Super 8
- Why you should have Super 8 as an add-on
How to create Super 8 pricing and packages
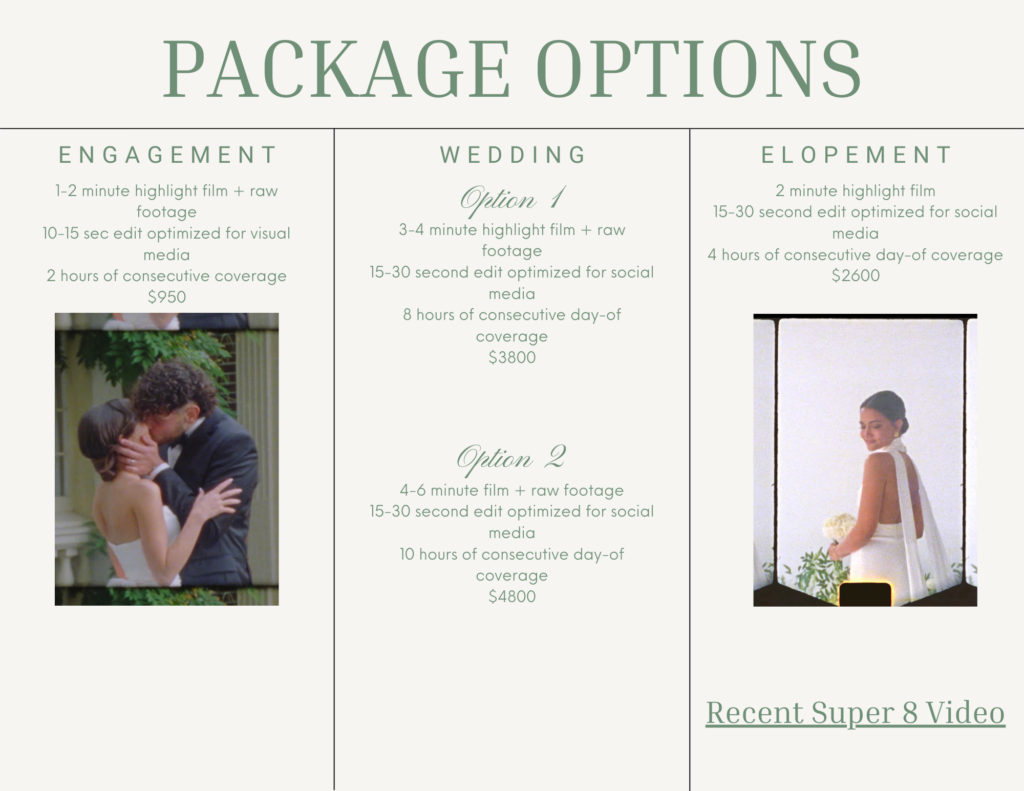
I use Canva for all of my pricing guides and send my clients a public view link to the Canva PDF. Here is what that pricing structure looks like. This is for Super 8 ONLY, if they’re looking for photo, I send them my photography pricing guide which has Super 8 add-ons at a different rate.
My biggest tip for pricing is to consider your hard costs (film, shipping, developing, music license), time spent prepping for the wedding, time spent on the wedding day, and time spent post-processing (culling, picking music, and editing). My pricing structure is by no means perfect and I am still working on it.
How to deliver the Super 8 film to clients
I typically create another web page with a custom design for them to view their Super 8 video (which I embed through YouTube) to first view. Then I send them the edited film and raw footage through WeTransfer.
I hope this helps in your journey to starting to shoot Super 8. If you want more hands-on and personal guidance, feel free to reach out to me about a mentorship! I can’t wait to chat!
